Here is my 32 week baby belly. Pregnancy might beat me up, make me tired, make my hips hurt so bad that at times I can't walk, and keep me up at night, but I wouldn't change it for the world! This is what I've been praying for, for years and years, and I'd go through anything for this baby! I LOVE being pregnant, feeling my little baby roll around, kick me, get the hiccups, and stretch. I love how my huge baby belly looks (that will probably change after I have him, lets just be honest! lol), I love how my son and my husband give my belly love and hugs and talk to baby. But I can't wait until this is over, and I'm holding my baby in my arms! :)

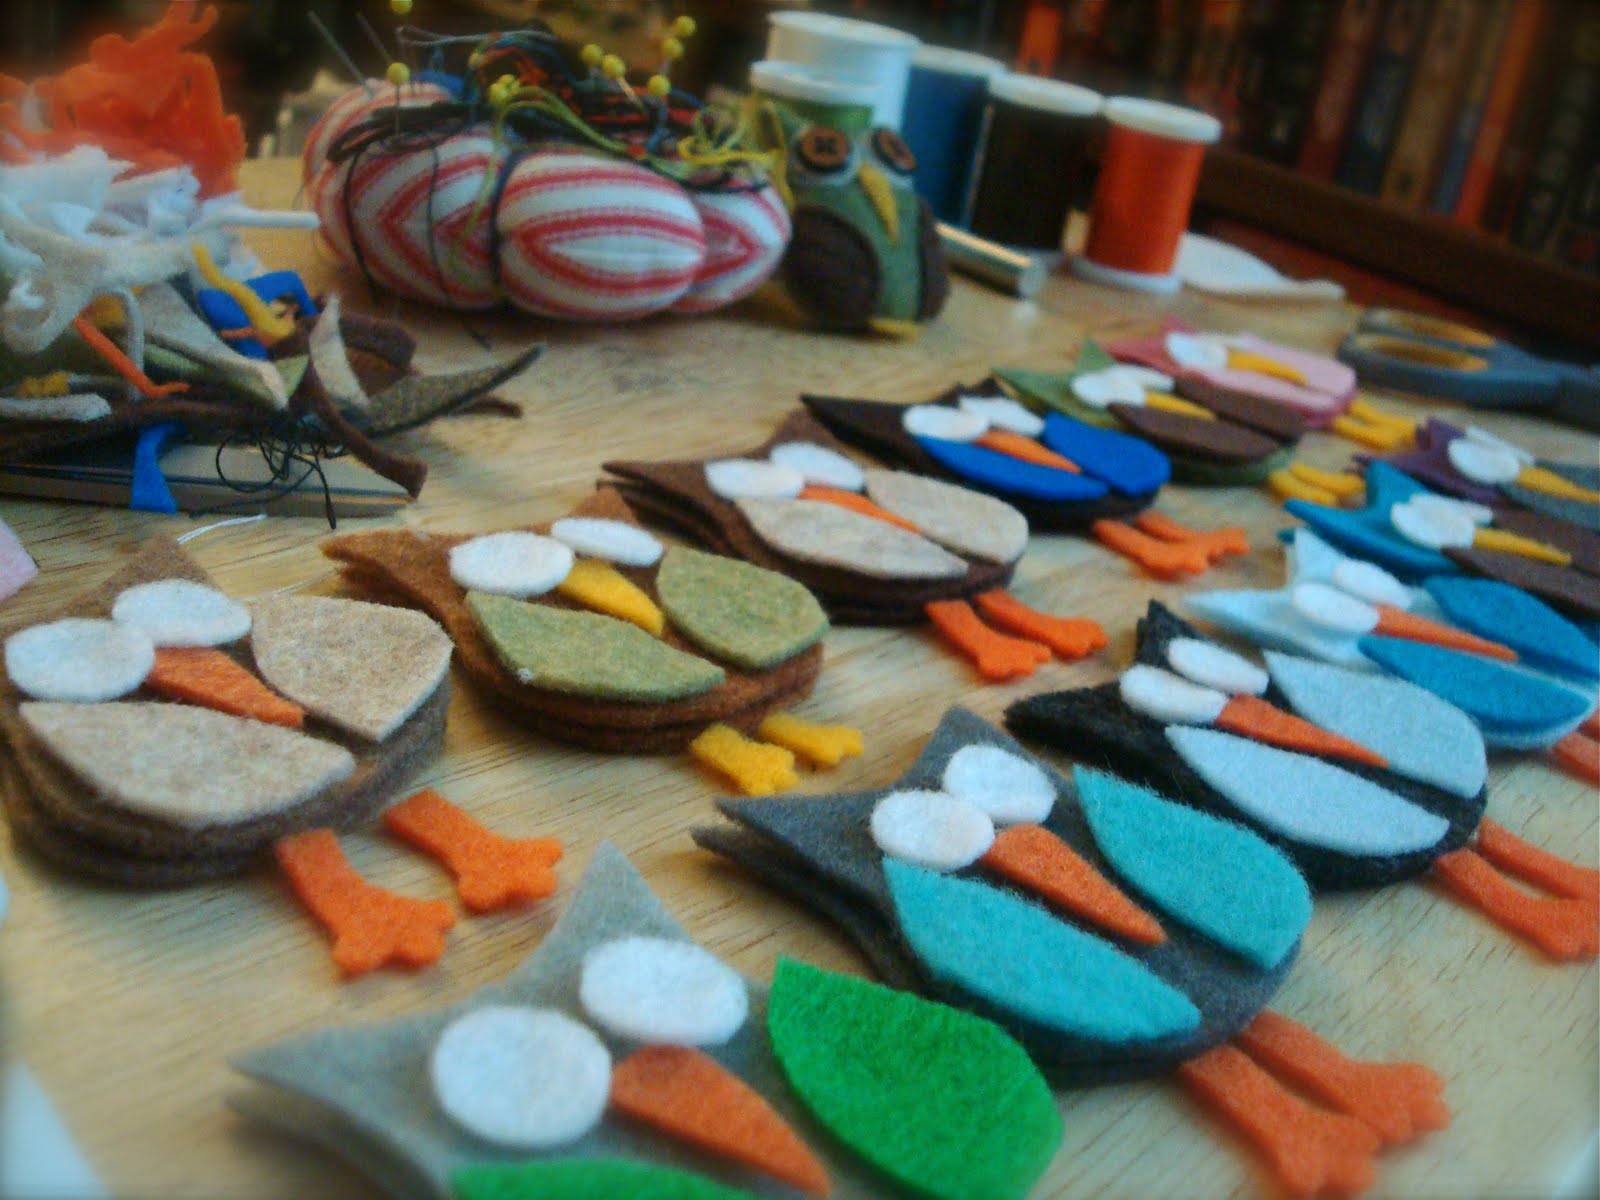
This little felt garland is one of the things I made in the past few days. It was pretty simple, *here* are some easy instructions if you'd like to make one too. After making this, I am especially glad that we chose a name with only four letters! I used some invisible thread to hang this, so it appears to be floating. I also cut out some little felt stars that match the mobile that I made.

The star mobile is inspired by *this* pin. My mom and dad had some branches in their yard from a storm, and we found the perfect one for this project! I used the free die-cut machine at Ben Franklin to cut a bunch of stars from glittery card stock. Invisible thread is sandwiched in between the stars, glued together with tacky glue.

Here it is from what will be baby's view :)

And here is baby's little space, all ready for him! Until we move into our new house next spring, he has to share our room. I bought the hanging organizer from Amazon for $14, and it holds burp rags, socks, onesies, jammies, lotions, diapers, wipes, and all that good stuff. The rest of baby's clothes, blankets, toys, etc. are in a dresser in Kade's room.
 The funny green stuffed animal with the blue mohawk on the shelf is from Build A Bear Workshop. Kade made it for baby, and there is a sound recording in his paw of Kade saying, "I love you baby brother!" It's adorable :)
The baby owl print is from Pseudooctopus. I found the breathable bumper at the thrift store, brand new for $3. My mom made the beautiful rag quilt hanging on the cradle. My sister and brother-in-law gave us the travel bed that we're using as a changing station. The little stars sleeper hanging below the shelf will be what baby wears home from the hospital.
Isn't there a song or something that says, "nobody puts baby in the corner"? I don't know what it's from. WE put baby in a corner, and a mighty cute one at that! It will be fun to decorate a whole bedroom for baby in a few months, but until then, I'm happy with this! Now I just need to pack some bags, and we'll be all ready for baby to come! Now that this is checked off my list, I better get to work on the other dozens of projects!